|
| Electric Vehicles | Overview | FAQ | Efficiency Analysis | Driver Resources |
Vehicle Graphics
Last Updated September 29, 2022
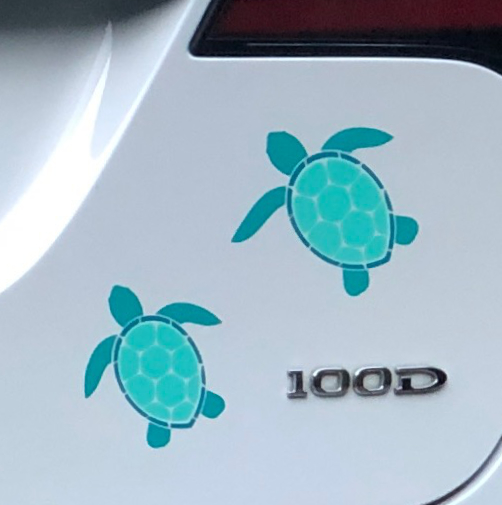
We added graphics to our vehicles to give them a little flair and make them unique.
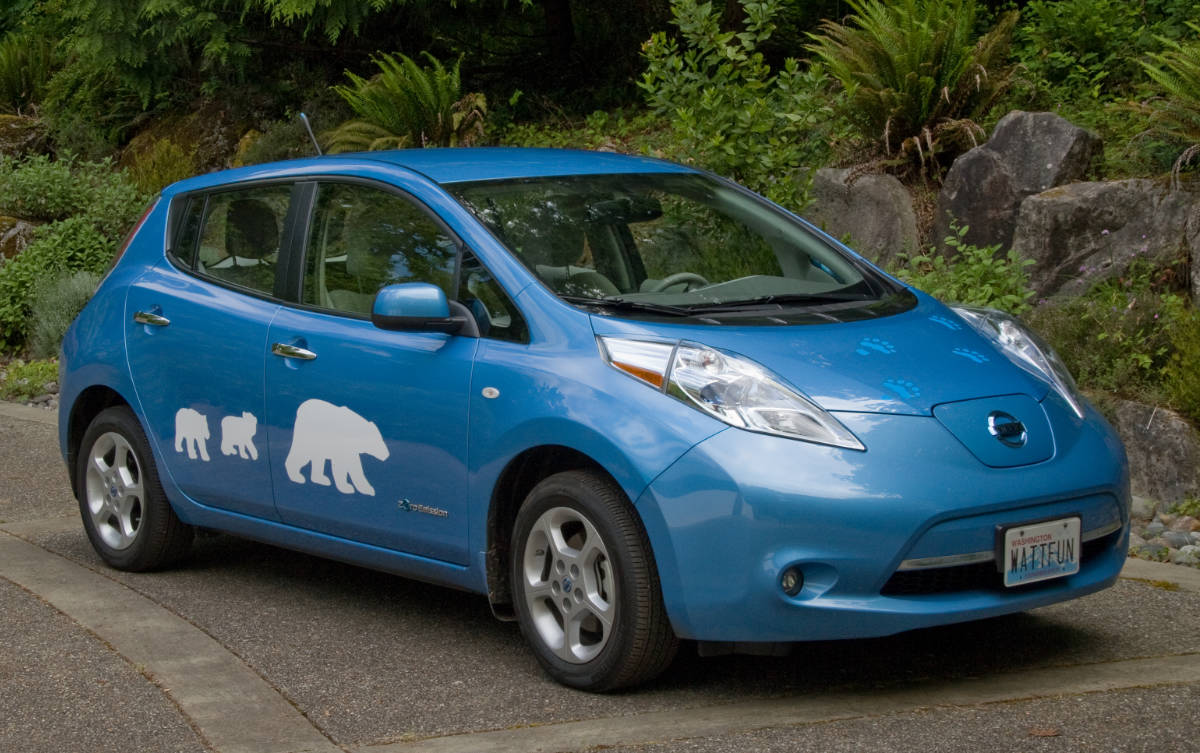

This page details the techniques and materials we used. We are not professionals, but did do research and experiments to develop a process that worked well for us. The descriptions below explain what we did in case it is helpful to others, but we make no warranty that this will work for you!
Overview of the process:
- Tools – round up tools and materials.
- Graphics – find or create vector artwork.
- Material – purchase adhesive-backed vinyl and "transfer tape."
- Cutting – use a craft machine to cut your designs.
- Weeding – remove the vinyl that isn't part of the design.
- Preparation – apply transfer tape; stack layers for multi-color designs.
- Application – put the decals on the car.
Note that if you purchase decals, you can skip to the last section on application.
Tools
Blue painter's tape – For temporarily holding things in place while you work.
Scotch tape – This sticks to parchment paper a little better than blue tape does.
X-ACTO knife or other sharp, pointed implement – For removing the vinyl that isn't part of the design, a.k.a. "weeding."
Paper weights – For holding layers in place while aligning.
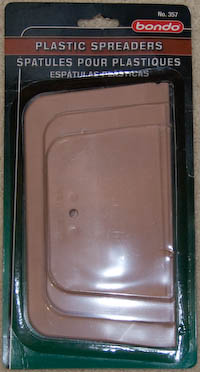
Flexible Scraper – For applying transfer tape to vinyl and the decal to the car. We use "Bondo plastic spreaders" (photo on right). They are slightly flexible, but firm enough to squeegee out water and air bubbles.
Parchment paper – For a work surface on the table and to provide a slick layer between the transfer tape and vinyl; this facilitates sliding the tape around until it's in the right position. After working for a bit with our usual kitchen supply of brown parchment paper, we got some wider (15"), white paper, which also has a grid that ended up being handy. (The white is a little easier to see through, but mainly we needed the wider paper for a wide design.)
Graphics
The cutter will need vector artwork such as SVG or DXF. Many clipart sites offer SVG files, or you can create your own design using an application such as Inkscape.
It's best if the layers of your design don't overlap. If they do, you'll see extra thickness in those areas of vinyl.
It's often helpful to add cut lines in the areas of the vinyl that aren't part of the design; that makes it easier to peel off those areas.
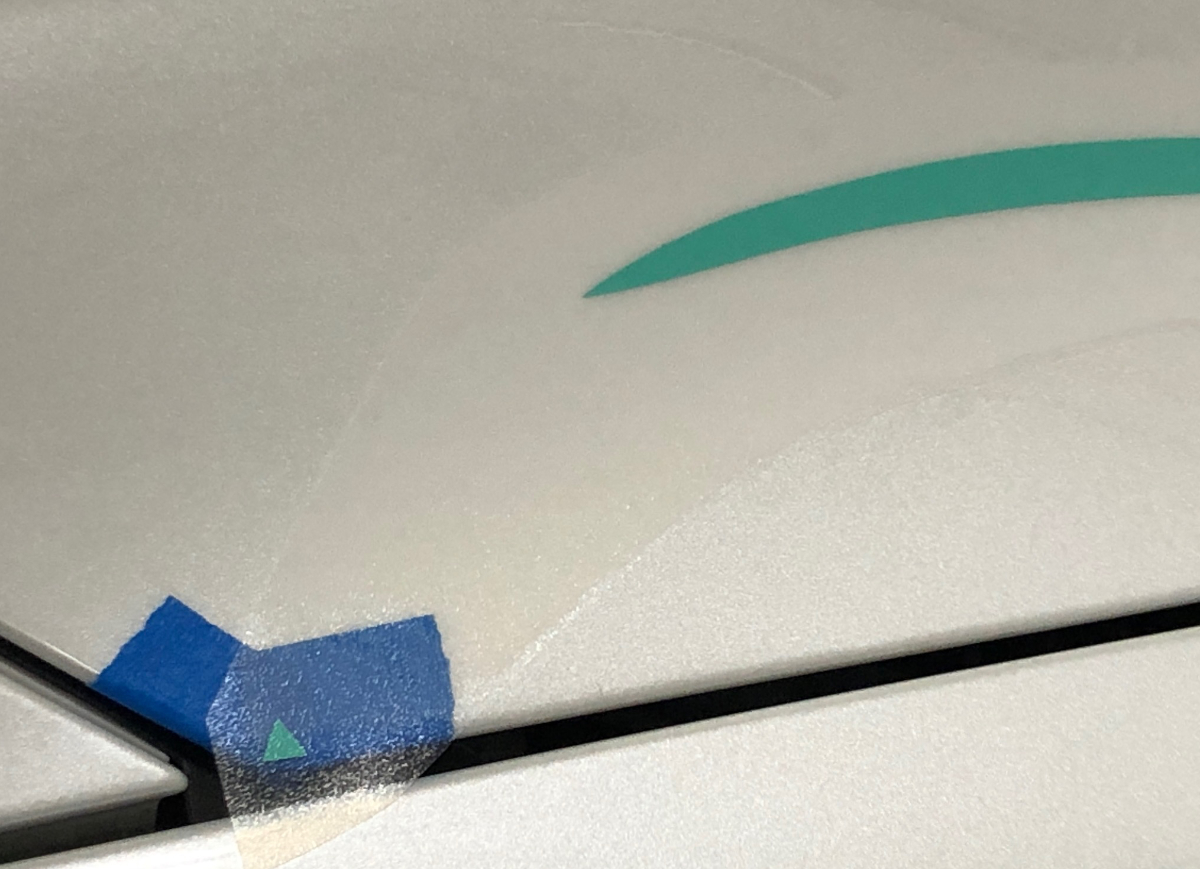
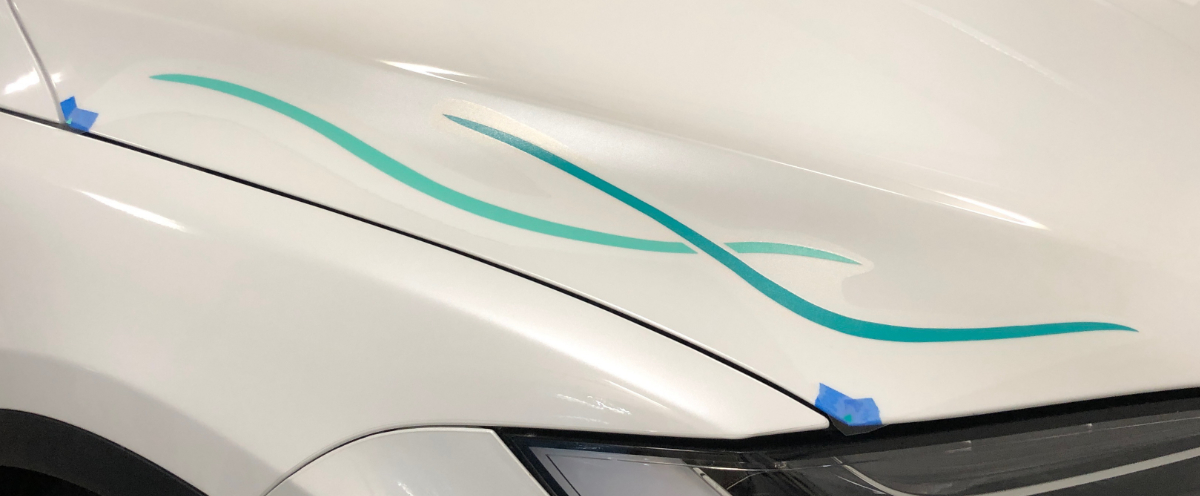
Registration marks are used to guide alignment when layering multiple colors, and they can also be added to help with positioning the decal on the vehicle.
We added a thin strip in the location of the seam between doors and used that to guide placement of the decal on the side of the car. For the hood, we placed triangles at the corners. The blue painter's tape under the registration marks is to prevent them from adhering to the car.
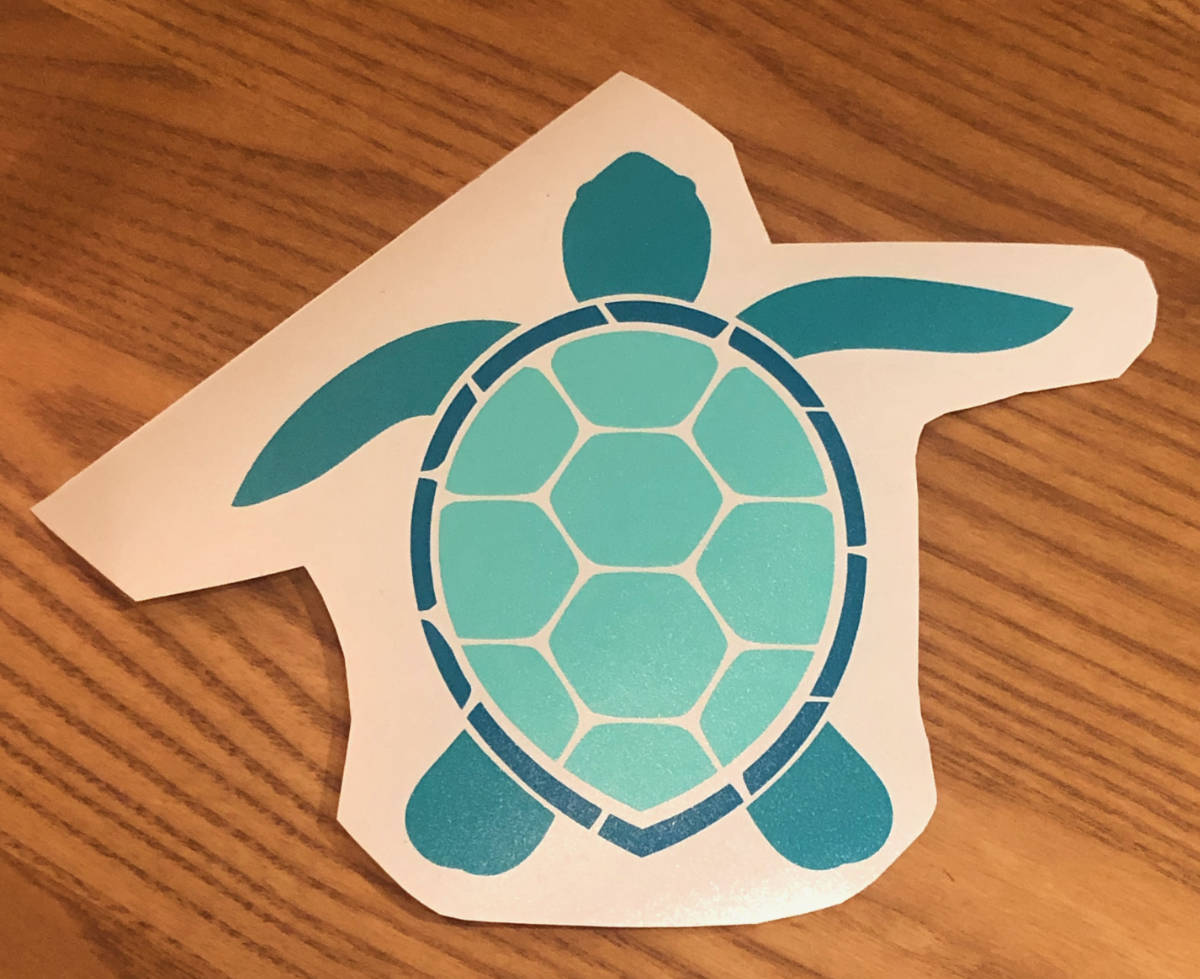
Registration Marks for Layering
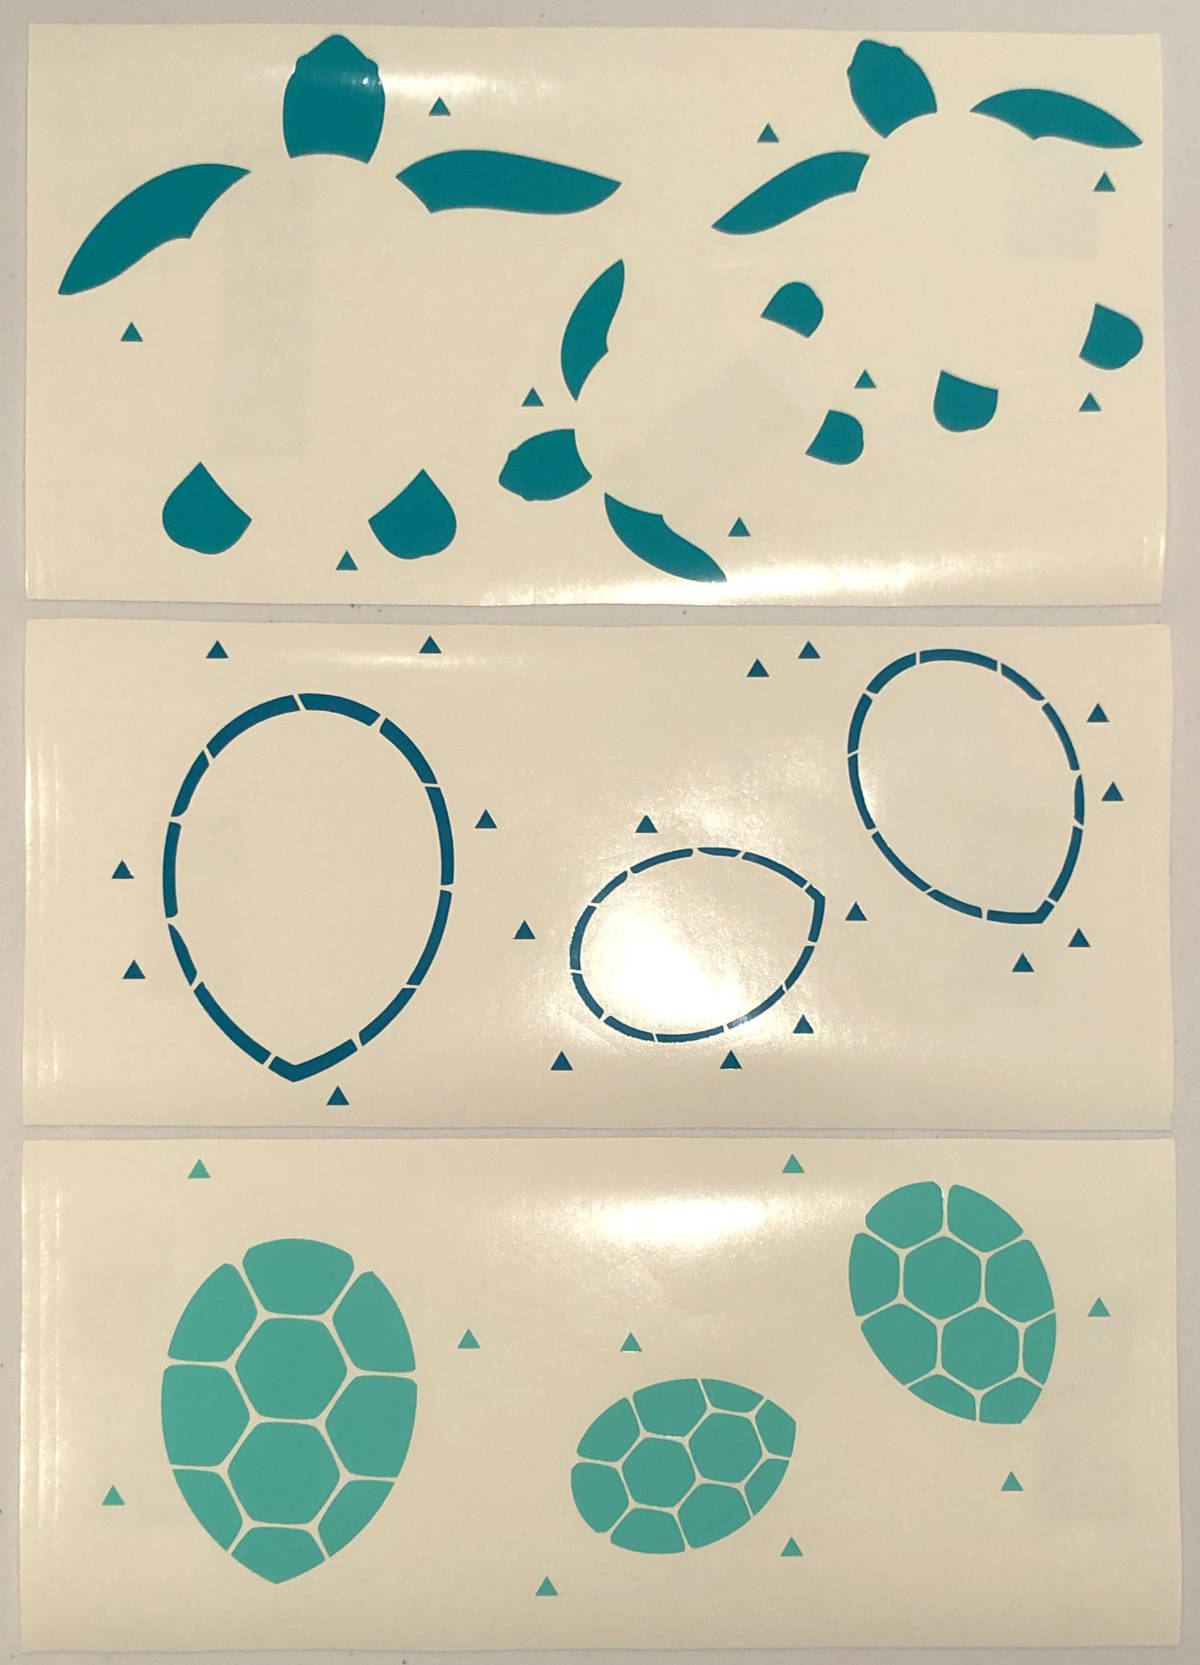
For designs using two (or more) colors of vinyl, the colors are cut separately and layered. To guide alignment, we placed triangular registration marks at the same position for each color. We added multiple triangles to provide redundancy since they would sometimes pull up from the backing when weeding.
When laying three or more colors, we found it worked best to have separate registration marks for each pair of layers, i.e. one set of triangles to align for layers 1 and 2, and a different set for layers 1 and 3. (I decided to always use the top layer rather than matching 2 and 3, for example; that seemed less likely to propagate any small misalignments in earlier layers.) I also found that having the darkest layer on top seemed to be the easiest way to see how layers were aligning.
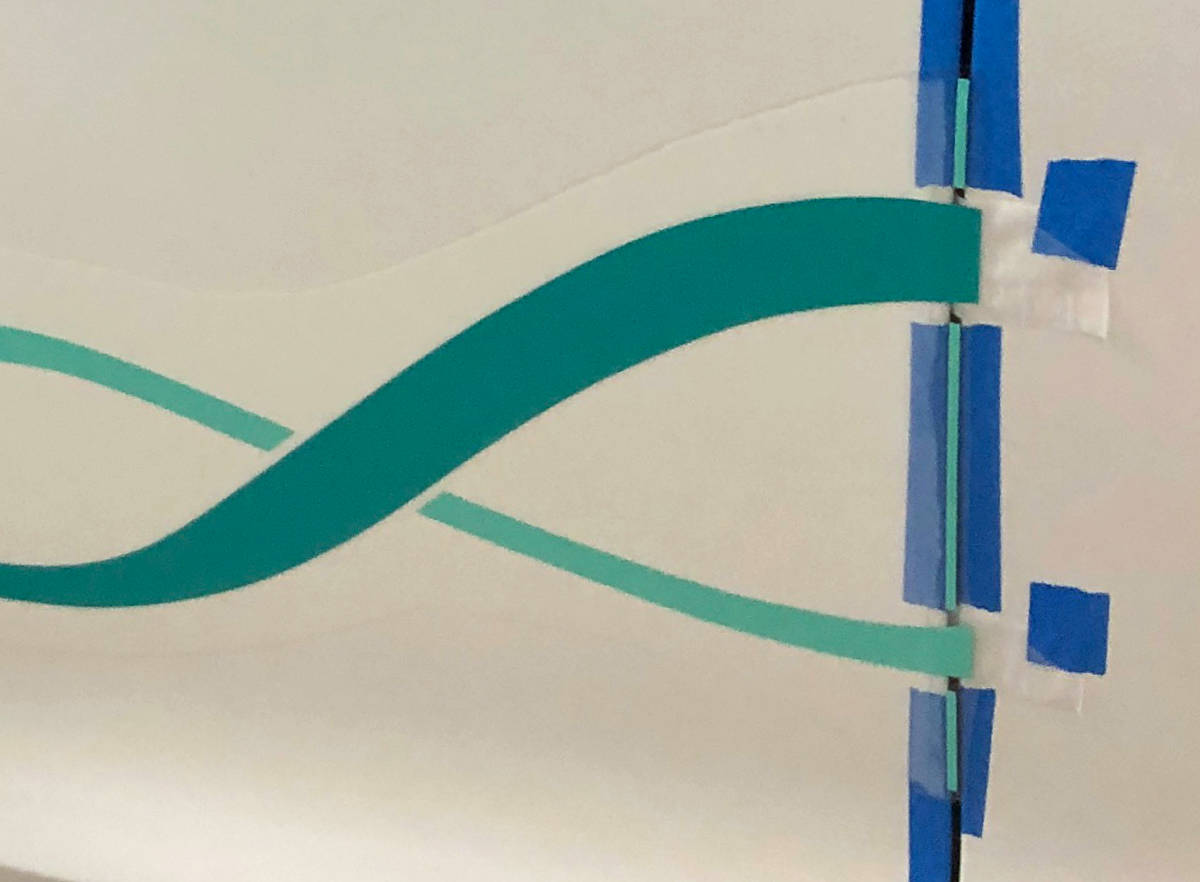
For the honu (turtle), we used three colors. After perfecting our techniques, we created the layouts below. The dark shell outline (middle strip) was my top layer; you can see that for each honu, there are three triangles that match the images in the top strip, and three different triangles to match the bottom strip.
Material
Vinyl
We used Oracal 751 High Performance Cast Vinyl. We found a nice selection of colors and good pricing at H & H Sign Supply.
"Cast" is better than "calendered" for vehicle graphics. Calendered is stretched for length, which means that things like tears get exacerbated, especially when exposed to elements; cast holds up better to tears and elemental changes.
Transfer Tape
"Transfer tape" is applied to the front of the design and holds it in place during application. It is removed after the vinyl has adhered to the car.
We use RTape Clear Choice AT60 Low-Tack clear application tape (purchased from US Cutter). It is a thin film that is flexible enough to curve around the car's contours, but sturdy enough that it holds its shape to prevent distorting the image. Its low-tack adhesive is sufficient to hold the vinyl, but it easily releases from the car and vinyl after the application to the car is complete.
Cutting
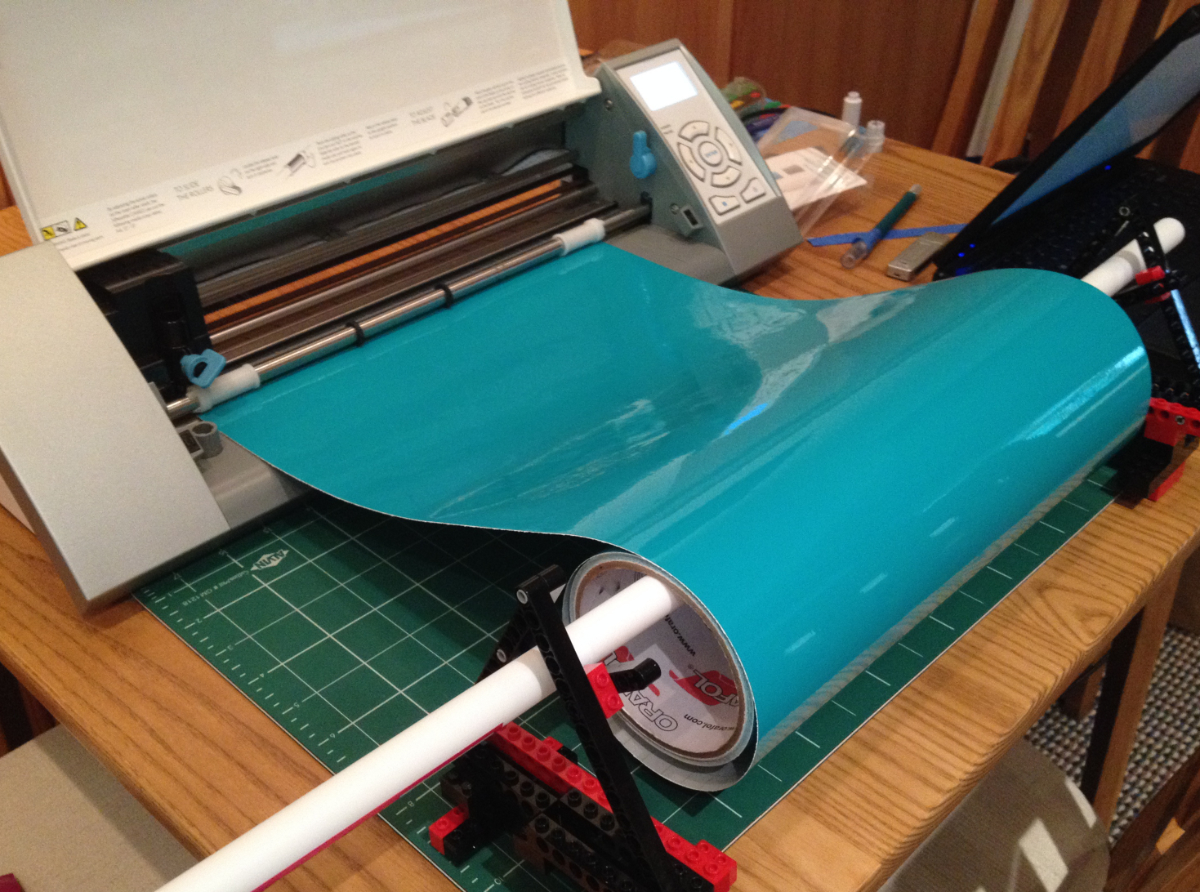
We have a craft cutting machine, the original Silhouette Cameo (they're now up to model 4 as of 2022). Our Cameo can cut materials up to 12" wide. The vinyl has its own backing (doesn't require using a cutting mat), so the machine can cut up to 10' in length.
Any craft machine that can import DXF (or SVG or other vector formats) should work fine.
The Silhouette machines are controlled using the Silhouette Studio application. Our version can import DXF files. I think newer versions may be able to read SVG directly. If necessary, use an application such as Inkscape or look online for tools to convert SVG to DXF.
We experimented with settings for cutting the Oracal 751, and determined that these settings worked well for our Silhouette Cameo:
- Speed: 8
- Thickness: 15 (this controls the amount of pressure applied)
- Blade: 1 (this is the physical setting on the blade)
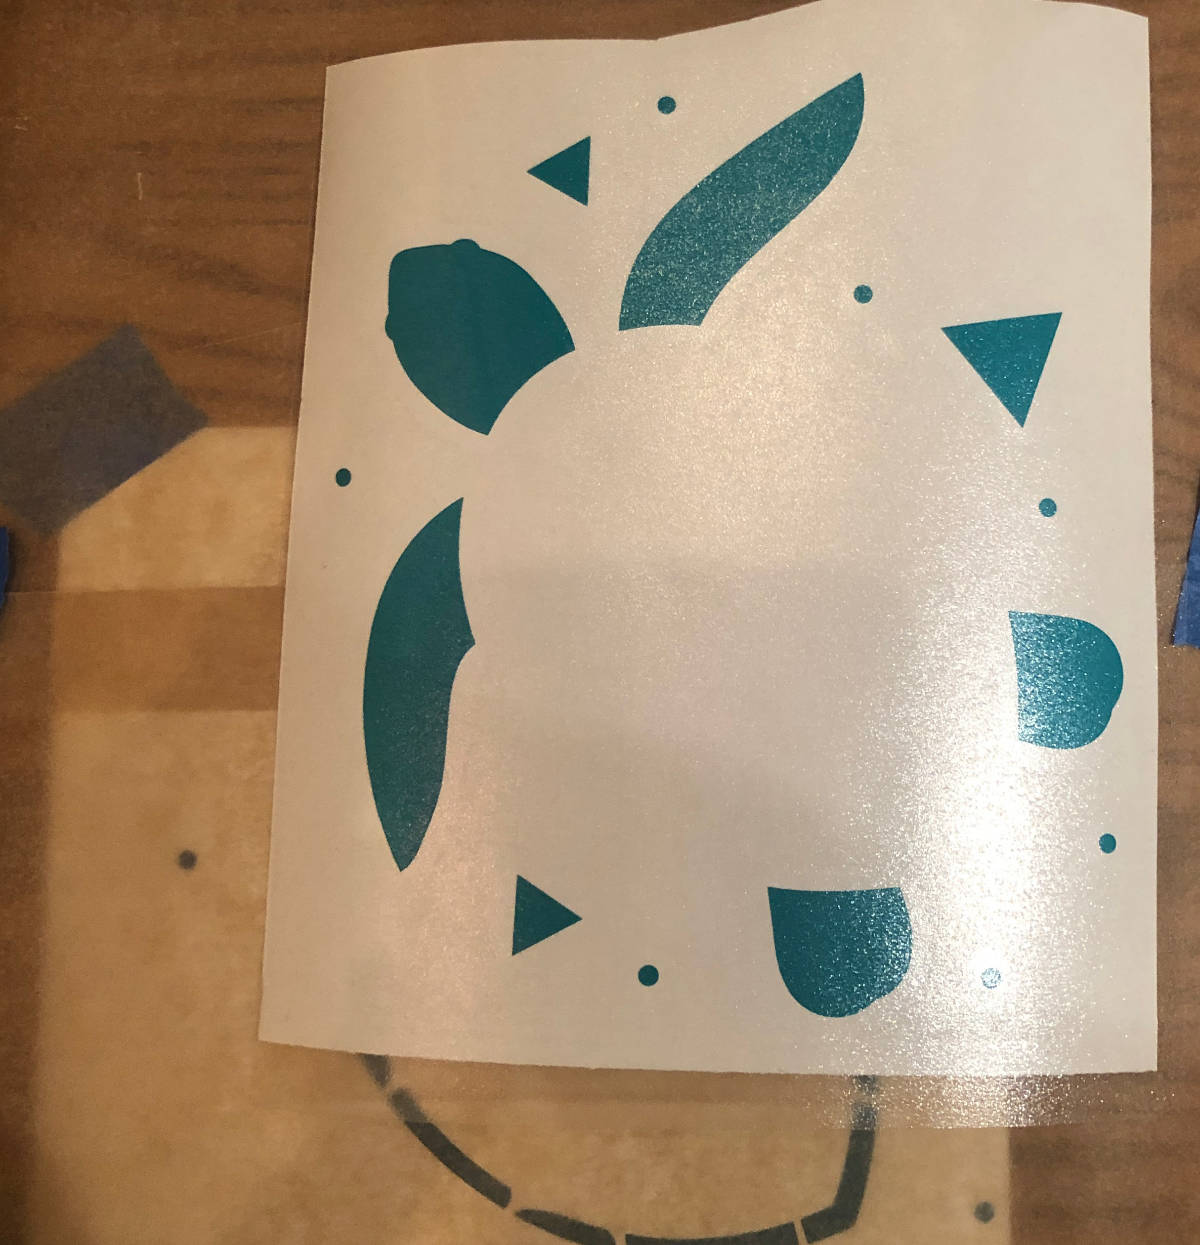
Weeding
Remove the vinyl that won't be applied – this is called "weeding." An X-ACTO blade, pin, or other sharp pointed implement can help lift the vinyl from the backing. I poke gently into the vinyl at a slight angle and then lift.
Preparation
Preparing the decal for application to the car involves adding a layer of transfer tape on top of the vinyl, and possibly layering multiple colors. The steps depend on whether your design is simple or complex:
Preparation - Simple
Follow these steps for a small, one-color design. If your design is larger or has multiple colors, see the steps for a complex design.
Place the design on the table, vinyl side up.
Cut a piece of transfer tape large enough to cover the design.
Place one edge of the transfer tape at the edge of the design, then gradually lay it down across the design, smoothing gently as the tape contacts the vinyl. Once the tape is in place, use a scraper to firmly press the transfer tape down so it adheres well to the vinyl. You now have a stack of transfer tape + vinyl + backing.
Trim around the image (through tape and backing) to remove excess transfer tape, but leave a little extra where necessary to provide support, and leave a bit of space for holding the tape while positioning.
Your preparation is done! Skip down to the application section.
Preparation - Complex
Follow the steps in the sections below for a large or multi-color design. If your design is small and has only one color, see the section above for a simple design.
Workspace Setup
Put a sheet of parchment paper on the table; we taped it down with Scotch tape.
On the work surface paper, near the edge closest to you, draw a rectangle large enough to contain your fully-layered design.
Unroll the transfer tape, sticky side up, until there's enough to cover your design (based on the rectangle you just drew), then cut the tape. Slide it away from you, so it's directly above the rectangle (and not overlapping it).
Layer 1
Start with the top layer. If the layers don't overlap, I like to start with the darkest color since that works nicely for aligning registration marks. Place this layer in the rectangle on the work surface paper, positioned in the location it appears within the design, vinyl side up.
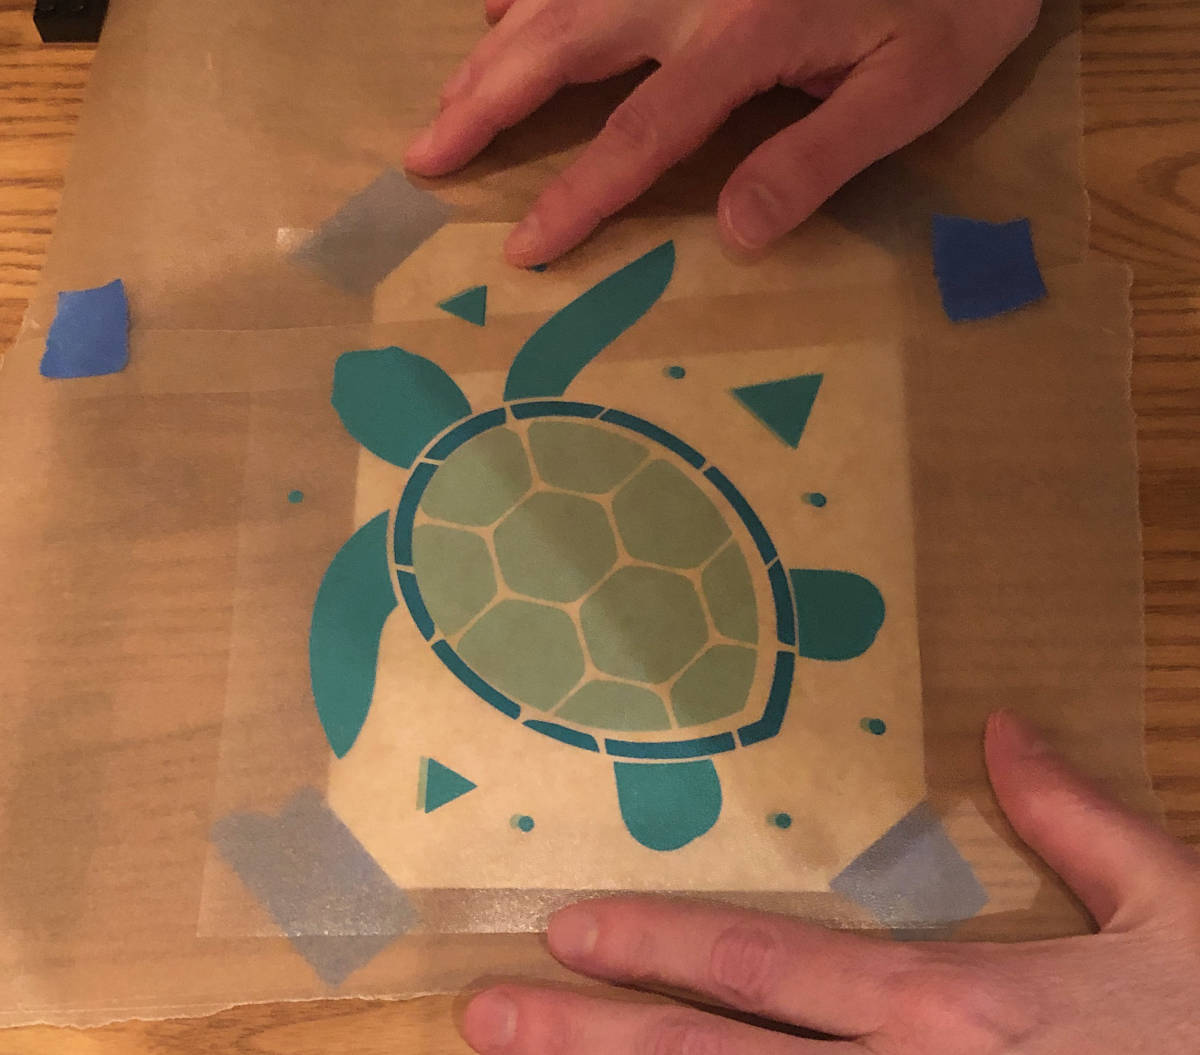
Layer three pieces of parchment paper onto the (sticky-side-up) transfer tape, as follows. Leaving a gap in the middle, place sheets on each side, extending a bit past the edge of the tape. A gap ~4" wide works well for large graphics; a couple inches is good for smaller designs. The location of the gap should correspond with the center of the vinyl (which is conveniently located just below the tape for easy identification of this area). Finally, place a small strip of parchment paper covering the remaining exposed portion of the tape and overlapping the side pieces by a small amount.
Grip the top edge (farthest from you) of the transfer tape and parchment paper stack, holding the paper in place – for small designs, hold the two areas where paper strips overlap; for large designs, a second person is helpful: each of you can hold an overlap area and a corner of the stack. Lift the stack, then bring the top edge forward (to flip the stack over), and gently lay the stack down with the parchment paper on top of the vinyl.
You may be wondering why we put the parchment paper on the transfer tape, not on the vinyl. The issue is that the transfer tape attracts parchment paper via static electricity. If the paper is on the vinyl/table, as soon as the tape gets nearby above it, the paper jumps up and clings, but not in the position you want!
Slide the tape and paper assembly over the vinyl so that the tape will cover all of the fully-layered design (as indicated by the rectangle on your work surface), and make sure the tape is lying smoothly over the vinyl.
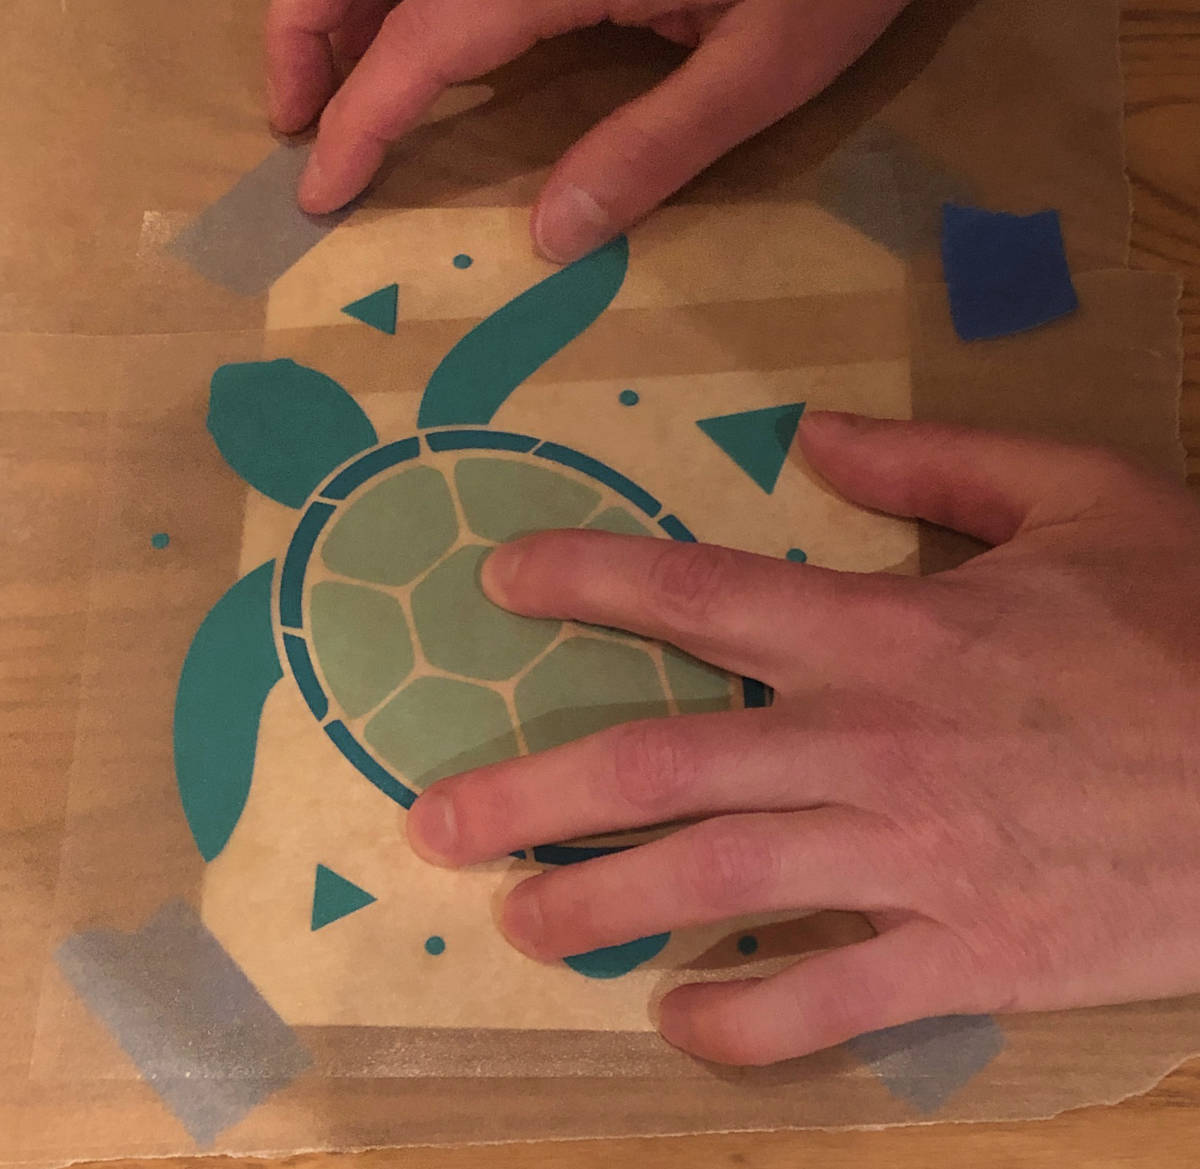
Keeping a bit of pressure on one side to avoid slipping, gently slide out the small middle piece of parchment paper (pull forward, possibly wiggling a little to break it loose). Press down on the middle portion of the transfer tape to adhere it to the vinyl and backing, getting close to the edges of the side paper strips, but not pressing down on those seams.
Apply pressure in the middle portion and gradually slide remaining paper out to the sides, smoothing and pressing the transfer tape down as the paper moves away. To get started, you may need to wiggle the paper a little back and forth, or lift the transfer tape a bit from the side and gently tug on the paper; once it's loose, be sure to drop the transfer tape back down onto the paper and check alignment before pulling the paper out.
Use a scraper to firmly press the transfer tape down so it adheres well to the vinyl. You now have a stack of transfer tape + vinyl + backing.
A couple notes on the above photo and the ones in the next section:
1. They illustrate our technique for layering, but they don't reflect our preferred use of registration marks
as described above. Specifically, we like triangular marks, putting the darkest layer on top, and having
separate marks for each pair of layers.
2. They don't show parchment paper on the table because they're from one of our early
experiments; they're what helped us realize that would be helpful!
The Remaining Layers
Perform the following steps for each subsequent layer.
Grab the current stack – transfer tape and layers so far – at the bottom edge (closest to you), and flip it up and over so the transfer tape is on the bottom; position it above the rectangle in your work surface.
Place the next vinyl layer in the work surface's rectangle, in approximately the area where it will go.
From the transfer tape stack, gently peel off the backing piece, ensuring that the vinyl comes free and is held by the transfer tape.
Layer three pieces of parchment paper on the transfer tape as above (pieces on sides, with a small middle section covered last).
As you did above, pick up the transfer tape and parchment paper assembly from the top edge (farthest from you), holding the paper in place, then gently flip it over (bringing the top forward) and on top of vinyl, ensuring that vinyl is fully covered by parchment paper.
Use the registration marks to align the layers. Try not to press too much on center section (to keep that paper free to slide out). When alignment is close, start adding paper weights to keep position. Check each area as you adjust, continuing until all marks are correct.
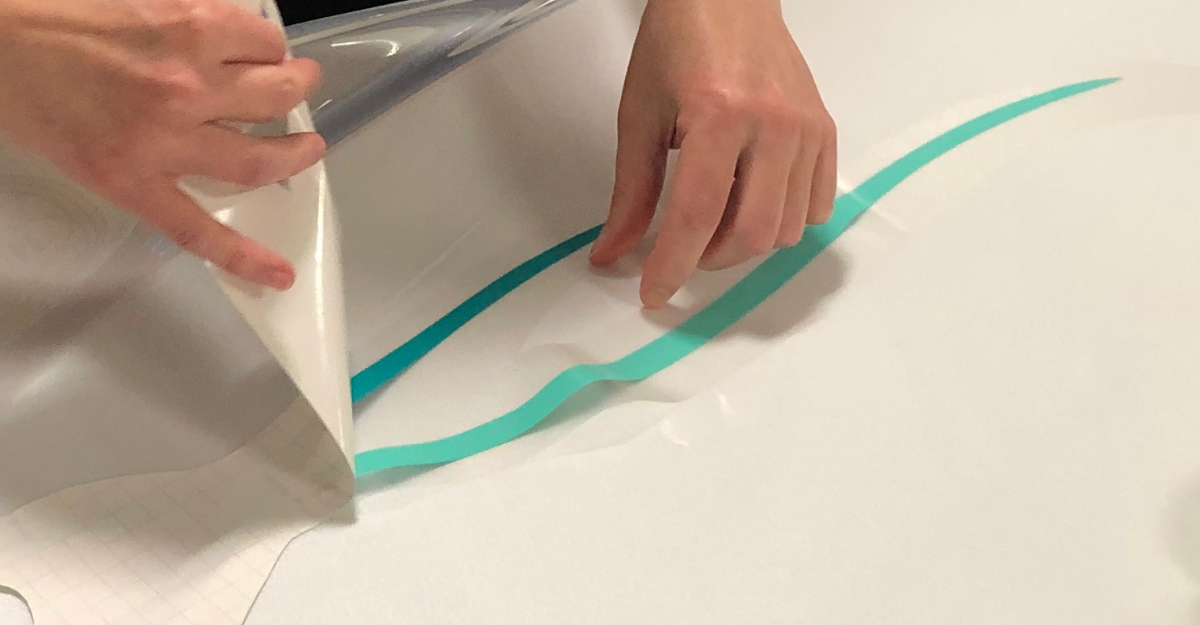
The photos below are from when we were doing a small strip on the side instead of one in the middle; the concept is the same, but we found it provided better alignment overall to stabilize the center first.
As before, gently slide out the small middle piece of parchment paper and press down on the middle portion of the tape to adhere it to the vinyl and backing, then remove the sides.

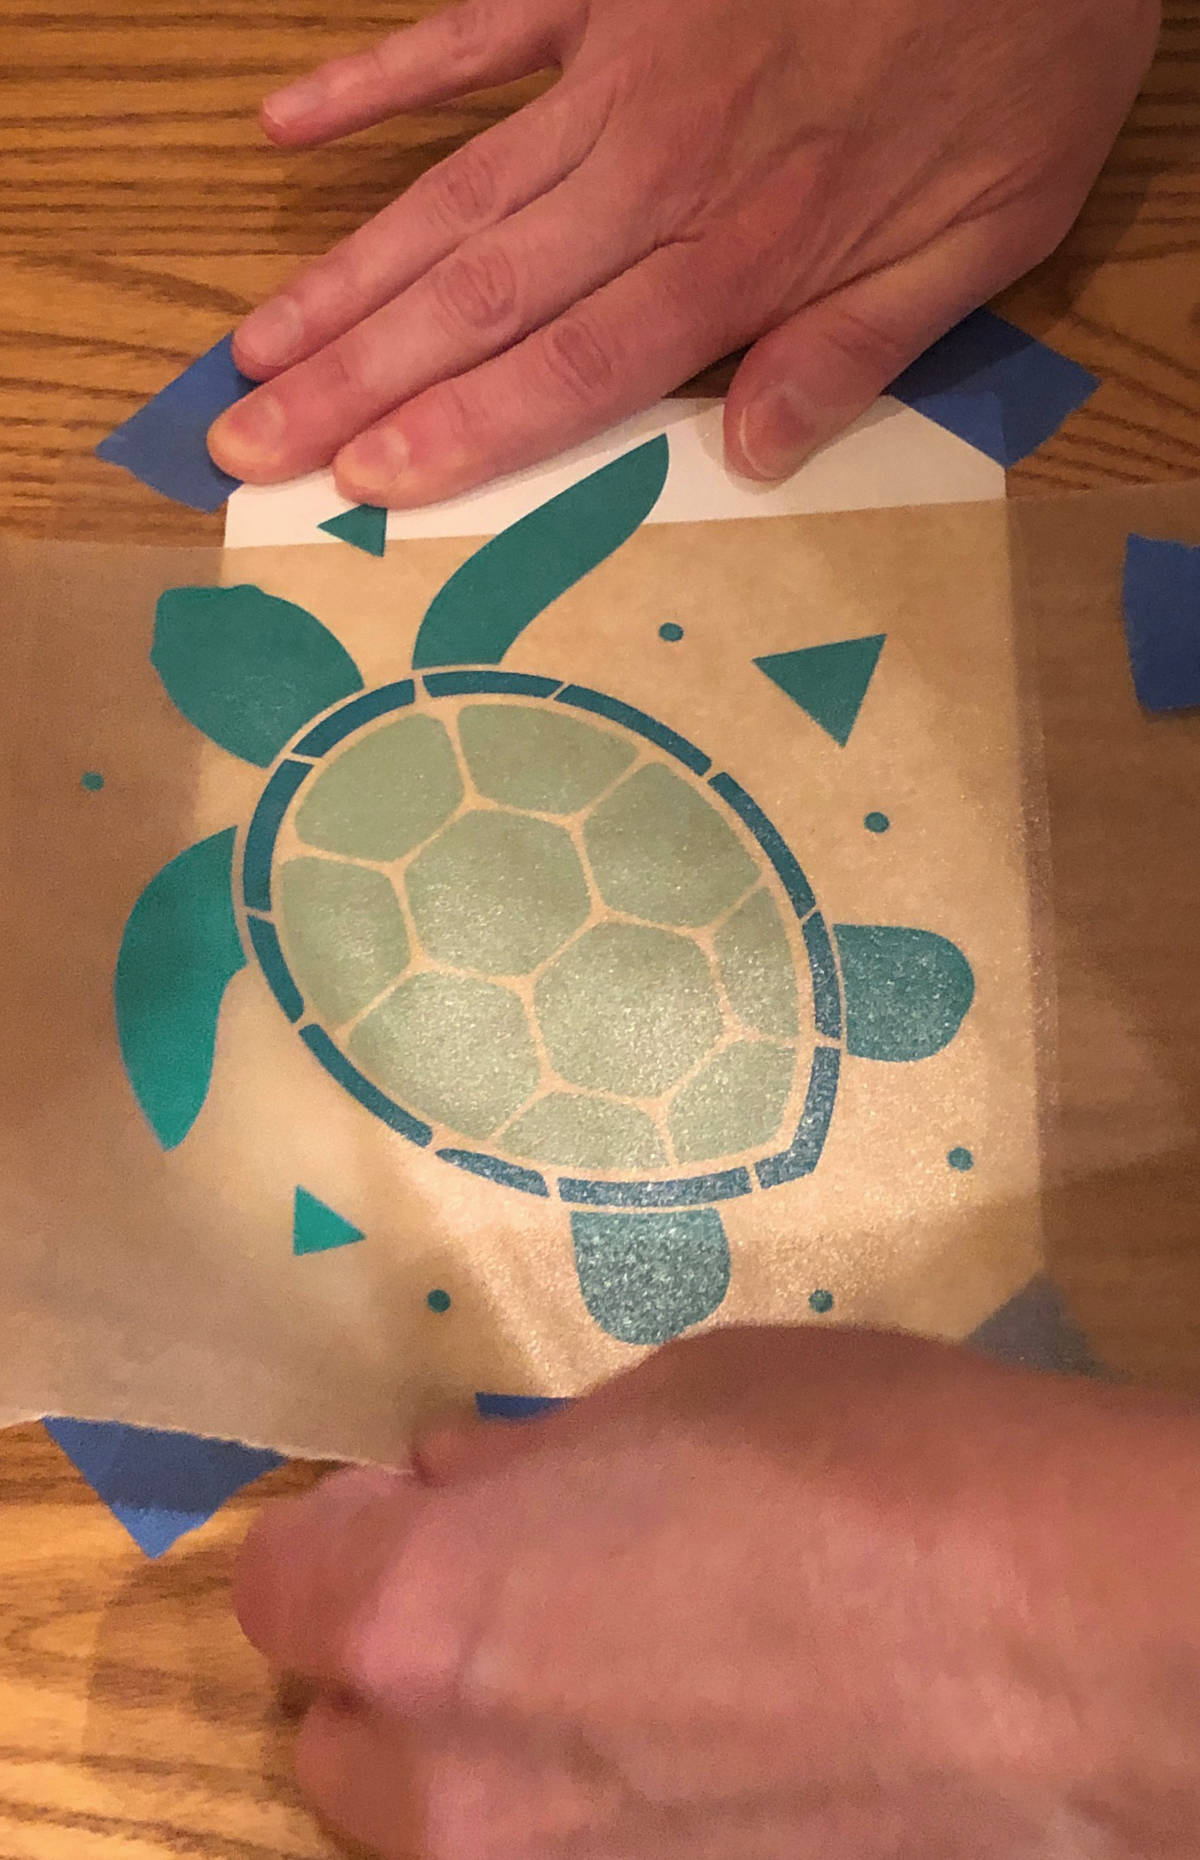
Use a scraper to firmly press the transfer tape down so it adheres well to the new layer of vinyl.
Finishing
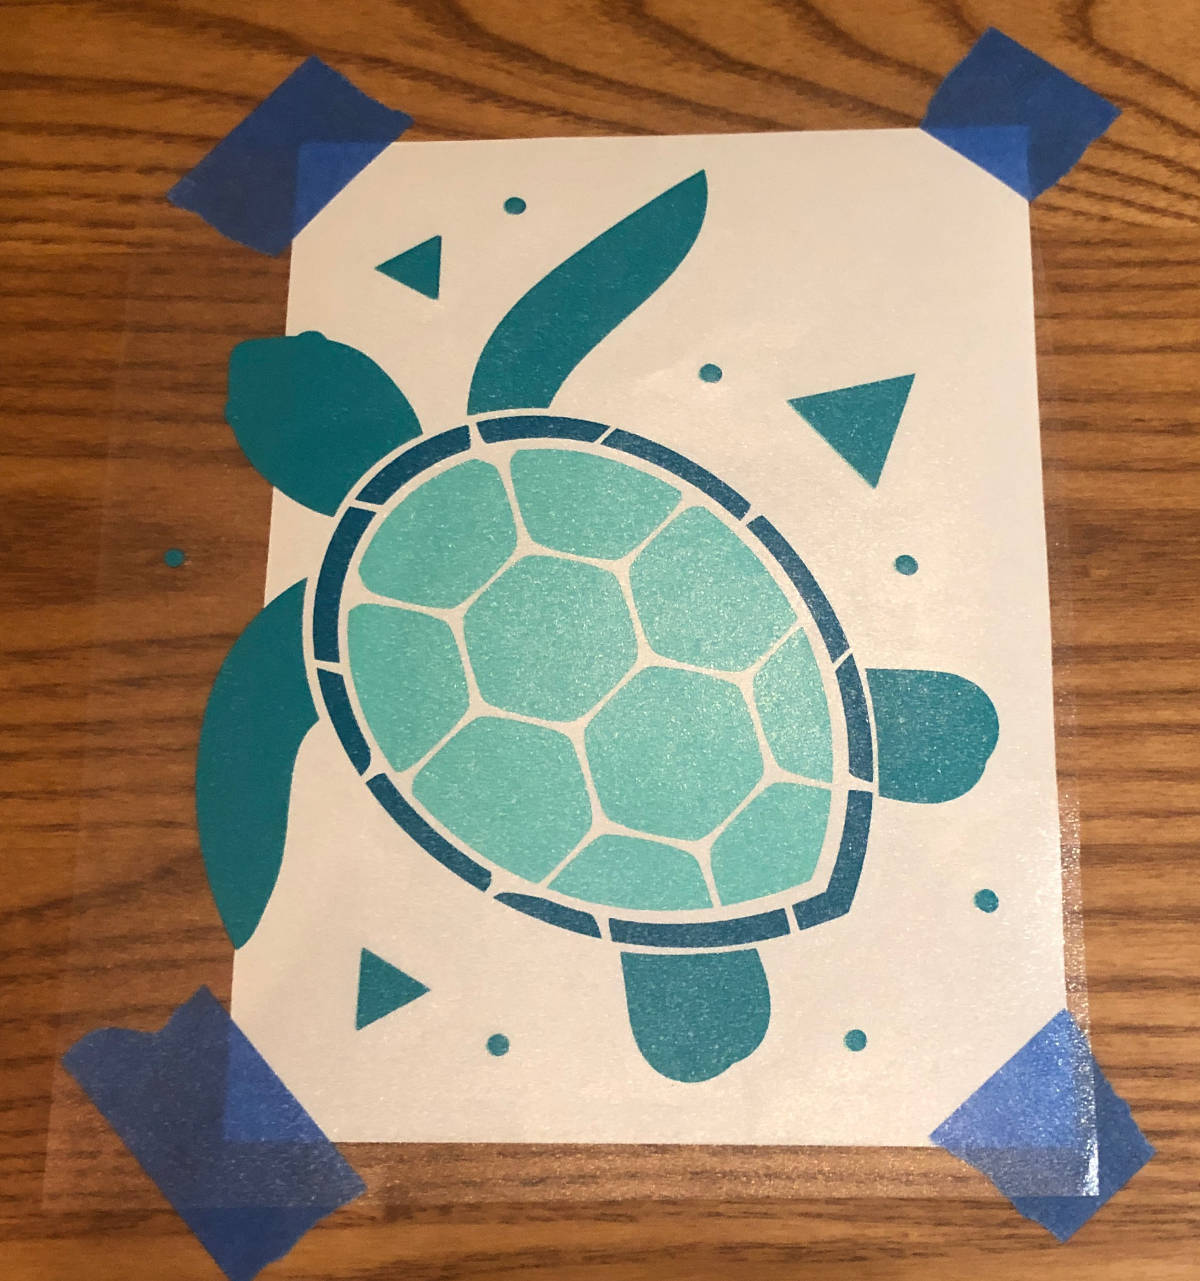
If there isn't backing under all of the vinyl (e.g. if last layer was smaller than the full design, such as the example on the right), you can use pieces of the backing that you removed from previous layers to fill in those spots. Flip the decal over so the sticky side is up, then place backing scraps over the exposed vinyl (and the transfer tape around it), overlapping slightly with existing backing. Tape the backing pieces together.
Trim around the image (through tape and backing) to remove excess transfer tape, but leave a little extra where necessary to provide support, and leave a bit of space for holding the tape while positioning.
Cut away registration marks used for layer alignment, but be sure to leave any marks intended to guide placement on the vehicle!
Application
If possible, work in a garage or other area protected from wind, dust, and direct sun (which will dry your soapy water too quickly).
For large graphics, this process is easier with a second person to help hold and position the decals.
Thoroughly clean the surface on which you're applying the decal. Even small dots of dirt or dust particles will create bumps in the vinyl. Put blue tape on the car where alignment marks will fall (corners of hood, edges of doors); this will prevent that vinyl from adhering to the car.
Fill a spray bottle with water and add a little liquid dish soap. I add a few drops at a time, shake gently, then spray some on my hand to see if it feels slick yet.
Spray the car with the soapy water to get it wet over the entire area for the decal (including the area around it where the transfer tape will be). You'll spray again right before applying the decal, but this pre-soak helps minimize the time that the decal's adhesive is exposed.
Place the decal face down on a table (or other flat, clean surface) near the car. Peel off the backing, then spray the transfer tape and vinyl thoroughly. All of it should be soaking wet.
Spray the car again to ensure that all of the application area is very wet.
Lift the decal up to the car and position it. The soapy water will make it possible to slide the decal around. If it becomes stuck, you can gently peel up part of the decal until it moves freely, adjust position, then lay the lifted part back on the car.
After it is in the desired position, gently smooth the entire decal with your hands (not the scraper, yet) to make sure there are no ripples.
The next step is to squeegee with the scraper to move water and air bubbles out from under the decal. The general idea is to work from the center to the sides, making multiple passes over the entire decal until you stop getting water out. Start with a light pressure (and work slowly), then press more firmly on subsequent passes. If the decal is tall, start by squeegeeing a horizontal band just below the top, then do the top band, and continue doing bands moving down the decal. Completely squeegee the entire decal with light pressure, then repeat with increasing pressure.
Make one final pass with the scraper, sliding it firmly over all areas of the vinyl to ensure it adheres to the car.
After the application is complete, wait 30-90 minutes, then gently peel off the transfer tape, making sure not to pull up the vinyl (be especially careful at sharp corners in the vinyl).
The vinyl will achieve full adhesion in 24-48 hours, so avoid driving the car during that period if possible.
If there are any trapped bubbles of water, you'll see rounded bumps in the vinyl. The water will evaporate (over several days or more) and those areas will flatten out.
| Electric Vehicles | Overview | FAQ | Efficiency Analysis | Driver Resources |
|
©1996-2026 Tom and Cathy Saxton. You may not copy or reproduce any content from this site without our consent.